We tell you which way is the best
Minecraft is no stranger to crashes, and the “Exit Code: 1” error is a common issue. It usually indicates a problem with Java configuration. However, this glitch is relatively easy to fix.
A game crash with exit code 1 can also be caused by things like outdated video drivers or mod conflicts, or even an incorrect launcher path. So here are all the methods of fixing these issues in Minecraft Java Edition.
Table of Contents
Fix 1: Reinstall Java
As the error code 1 primarily pertains to a Java configuration issue, that is the first thing to fix. Many guides will tell you to modify the Java executable path, though we recommend simply reinstalling Java completely.
This fixes any odd configuration problems, apart from upgrading the Java version. And to be clear, when we talk about reinstalling Java, we are referring to the Java Runtime Environment (JRE).
- To update Java, download the latest installer from the official download page. You can also get the same from Oracle’s website.
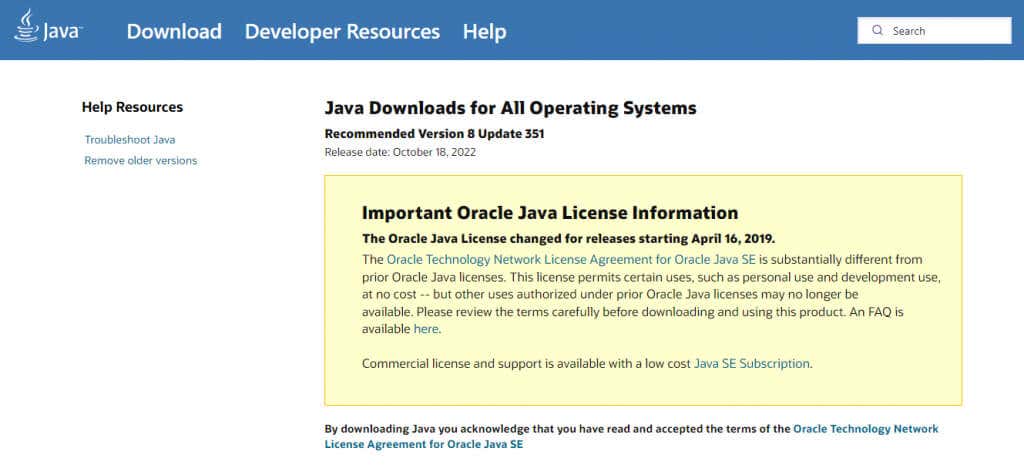
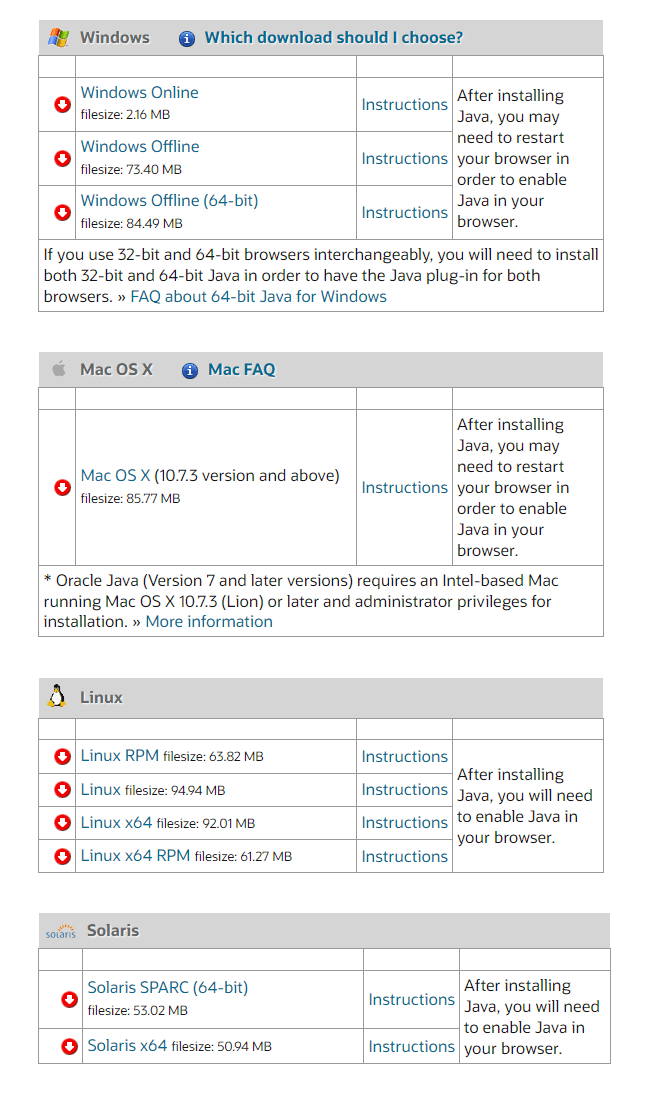
- There are versions of Java available for Microsoft Windows, Linux, and Mac OS. Choose the correct installer for your computer, getting the 64-bit version if applicable.
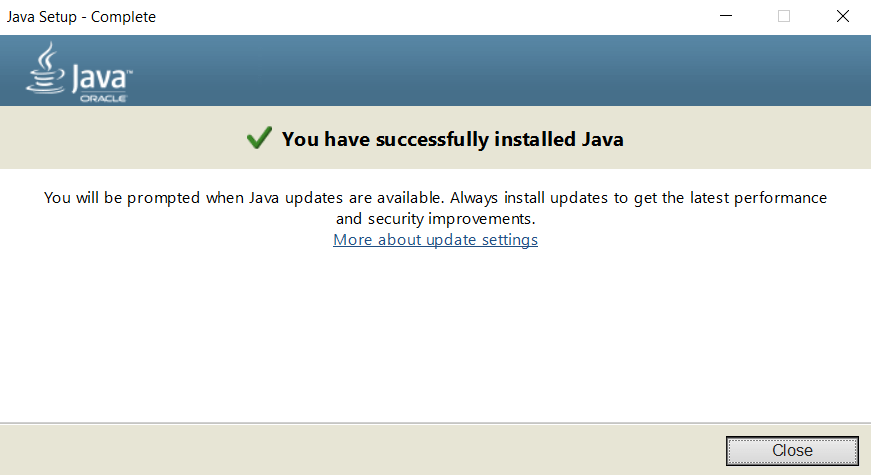
- Run the downloaded setup to install Java on your computer.

- Close the setup once the installation is complete.
Fix 2: Modify the Minecraft Launcher Path
The Minecraft game files aren’t the only component in the smooth running of the game. The Minecraft launcher is equally important and can cause crashes if it fails to connect with the exe file properly.
A very common glitch is for special characters in your User ID to mess up the Launcher path, preventing it from finding the game directory. Thankfully it’s easy to fix, requiring just a small addition to the shortcut target.
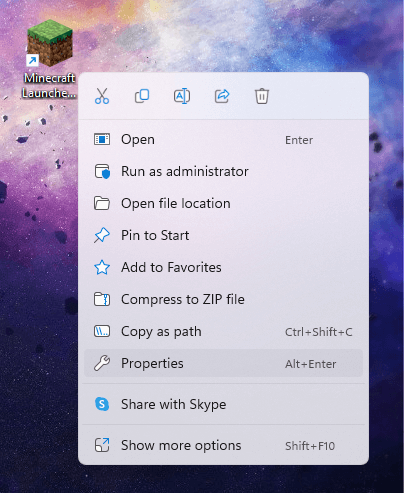
- To edit the Minecraft Launcher’s path, right-click on its shortcut on the desktop and select Properties.
- Switch to the Shortcut tab in the Properties window.
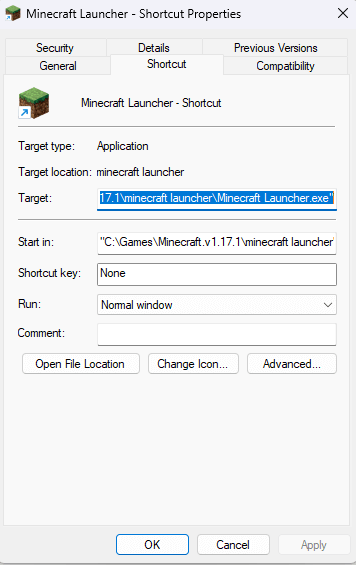
- Select the entry of the Target field and append –workDir %ProgramData%.minecraft at the end. Make sure not to wipe out the existing text. If you do, press Ctrl + Z to restore it.
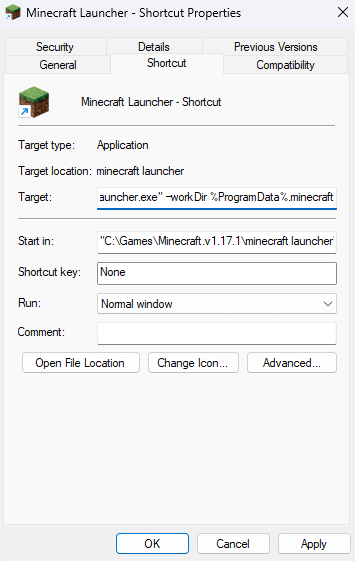
- Click on OK to close Properties and apply the changes.
Fix 3: Disable Mods
Minecraft is one of the most modded games out there. While the right mods can greatly elevate your gameplay experience, too many mods can crash the game as well.
Mod errors tend to be hard to diagnose, with the cumulative changes from multiple mod files triggering rare issues. This is why it’s always recommended to keep your mod list short.
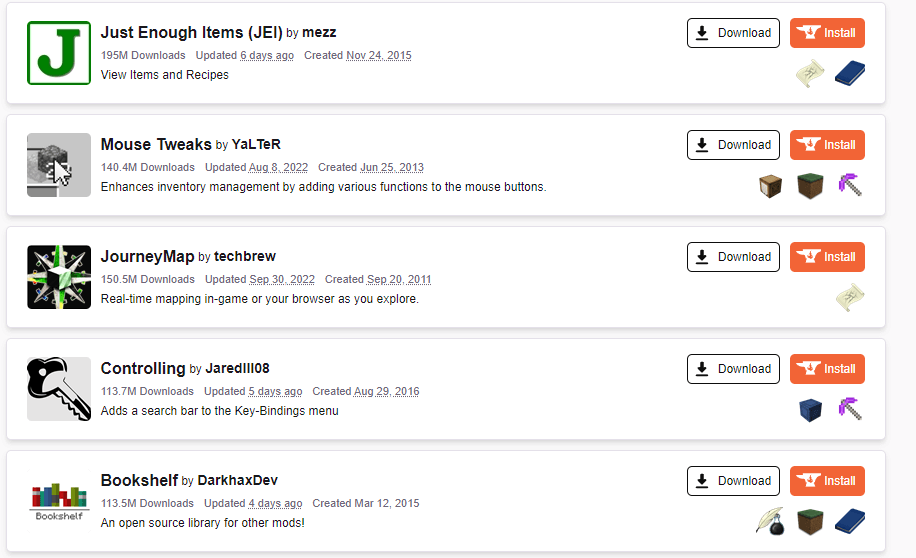
It’s a good idea to try running Minecraft without any mods whenever you’re facing any problems with the game. If things work out, you can try adding them back in one at a time until you find the mod causing the error.
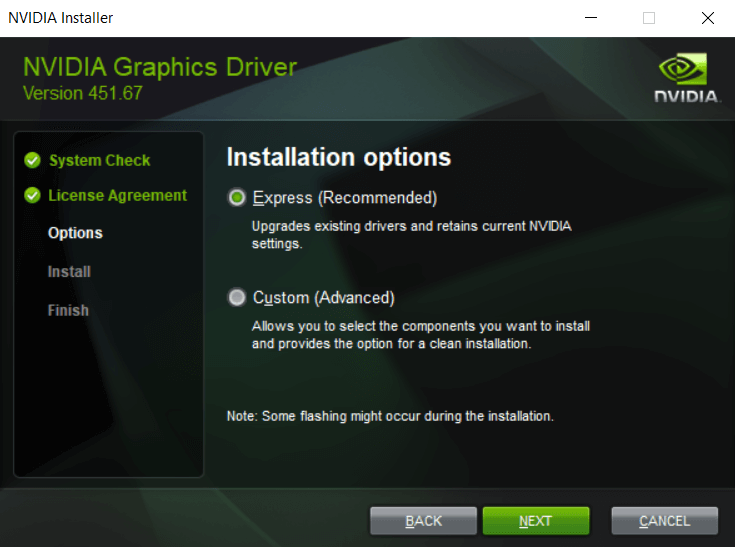
Fix 4: Update GPU Drivers
Driver issues are a common cause of gaming errors, and Minecraft is no exception. Updating your graphic drivers to the latest version can fix many potential bugs with the game.
There are two main ways of updating the GPU drivers – uninstalling and reinstalling the video card in the Device Manager, or finding a package manually. We recommend the second method as it optimizes your drivers for your specific hardware.
- To manually install the latest VGA drivers, navigate to the manufacturer’s website. Laptop brands like Acer, Lenovo, HP, etc. offer driver downloads for all of their models, while desktop users can head to Nvidia or AMD for their graphics card’s driver.
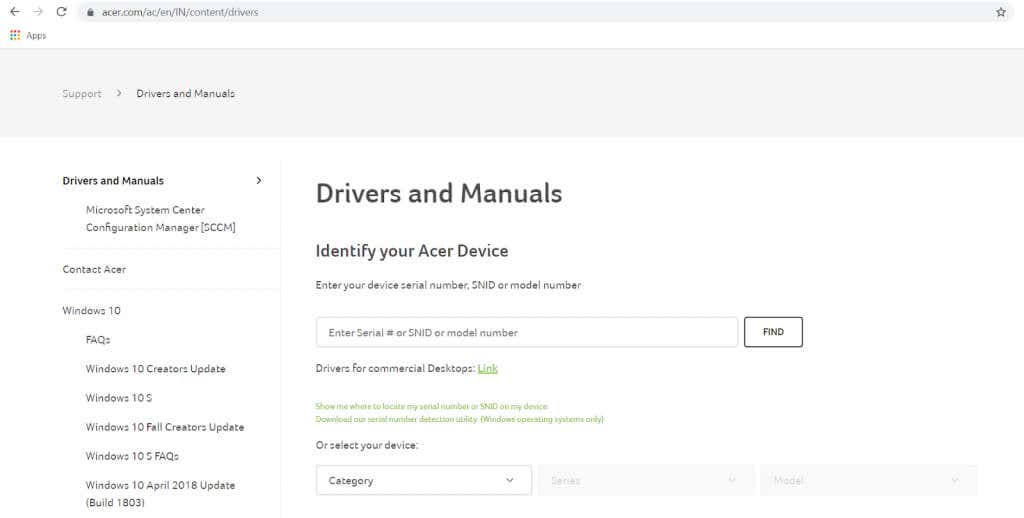
- You’ll need the model number of your laptop (or the graphics card) to find the correct drivers. You can find this underneath the laptop, or on the product box of your GPU.
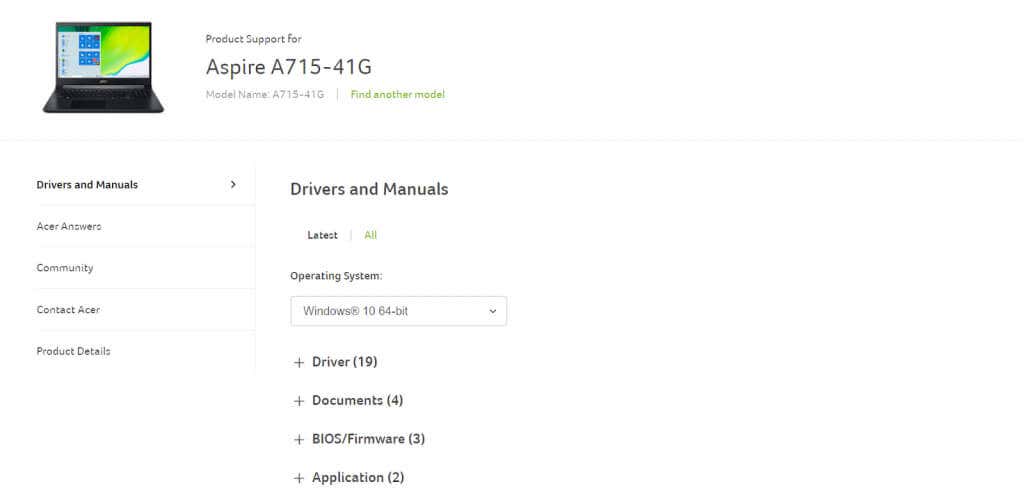
- Searching the manufacturer’s website for your laptop model should bring up a list of all compatible drivers. Scroll through to find the VGA drivers, often including the name of the graphic card.
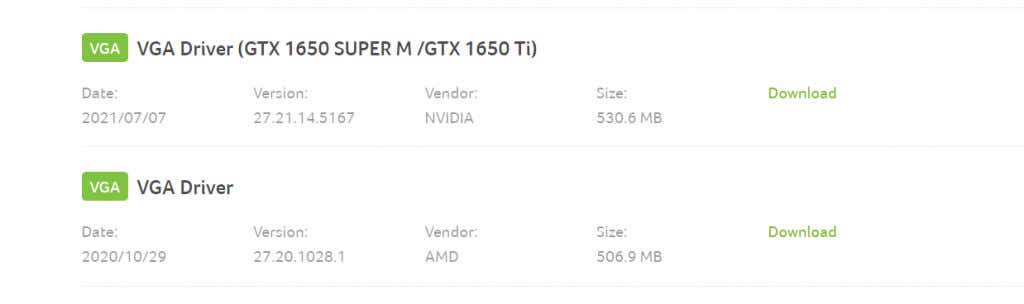
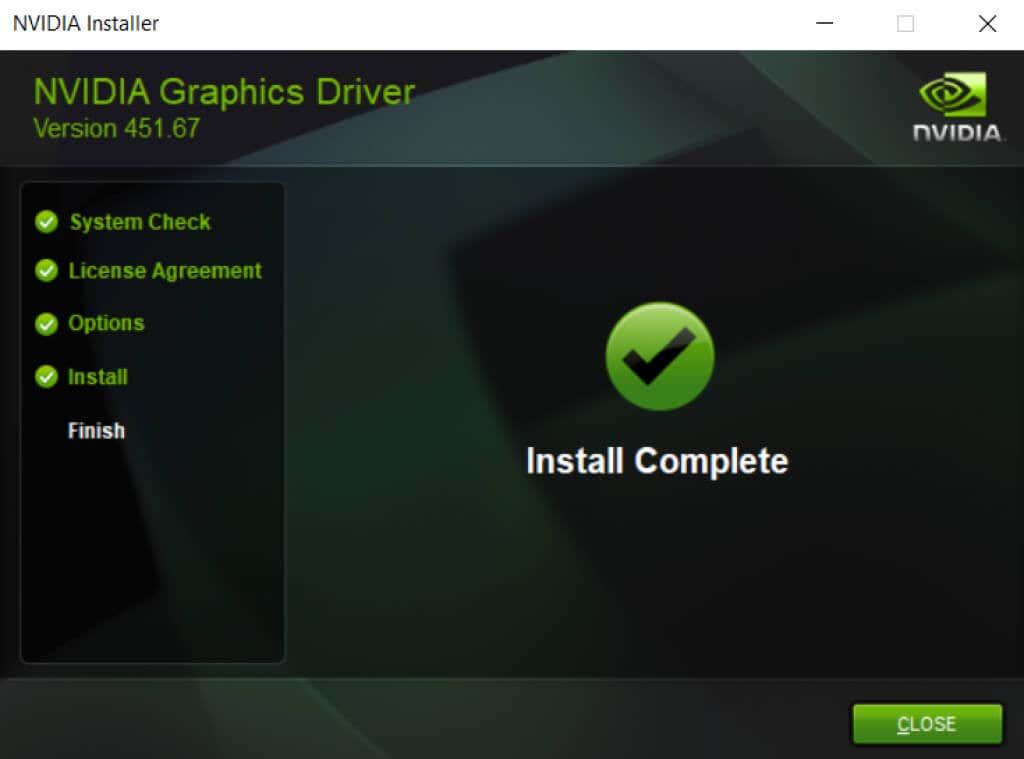
- No matter where you downloaded it from, the driver setup will be from the GPU manufacturer.
- There’s no risk of getting the wrong package – the setup automatically detects if your hardware is compatible with the driver, and only gives the option to proceed if everything lines up.
- Once installation is complete, restart your computer.
Fix 5: Reinstall Minecraft
No matter what the error is, reinstalling the game tends to fix many issues. And that’s true for all video games, not just Minecraft.
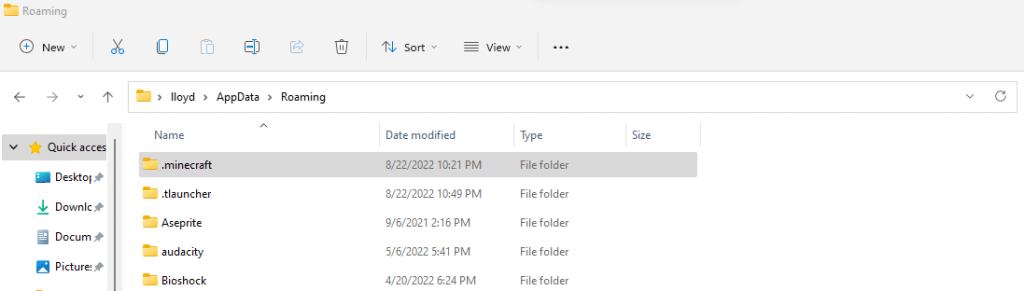
But Minecraft does not come with a convenient uninstaller to cleanly remove the game. You have to manually locate the game folder and delete it yourself.
- The Minecraft game folder is located in “C:\Users\UserName\AppData\Roaming\.minecraft,” where UserName should be replaced with your Windows account name. Note that the AppData folder is normally hidden, so you need to Show Hidden Files to be able to navigate to it manually.
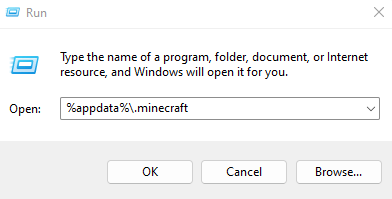
- You can also use Run to open the game folder straightaway. Open the Run utility by searching the Start Menu and enter %appdata%\.minecraft.
- Though our aim is to delete the Minecraft folder, take a moment to first copy the saves folder to another location on the disk. This backup will be useful to restore your progress after reinstalling Minecraft.
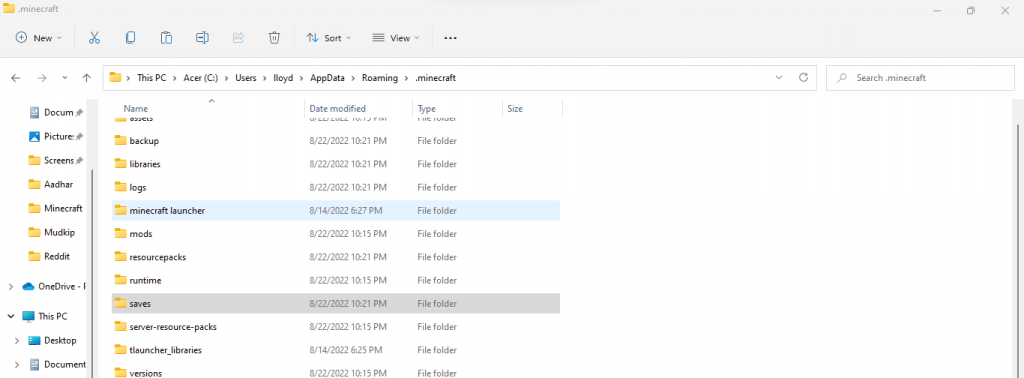
- Now delete the folder and install Minecraft again from Mojang’s official website.
What Is the Best Way of Fixing Minecraft Exit Code: 1?
There is no silver bullet that can fix every possible cause of the Minecraft 1 error code. What you need is to try multiple solutions until the game works smoothly again.
The first step is to update things. Update Java, update the GPU drivers, and update Minecraft. That fixes a majority of problems with the game.
If Minecraft still crashes with an exit code 1, try reinstalling the game to replace any potentially corrupted files. Make sure the launcher can find the game directory, and you shouldn’t have any issues.
Subscribe on YouTube!
Did you enjoy this tip? If so, check out our YouTube channel from our sister site Online Tech Tips. We cover Windows, Mac, software and apps, and have a bunch of troubleshooting tips and how-to videos. Click the button below to subscribe!
Subscribe